
First, select a photo to do this too if you don't have one opened yet.

Press D to make sure your default colors are selected before going to the next step.
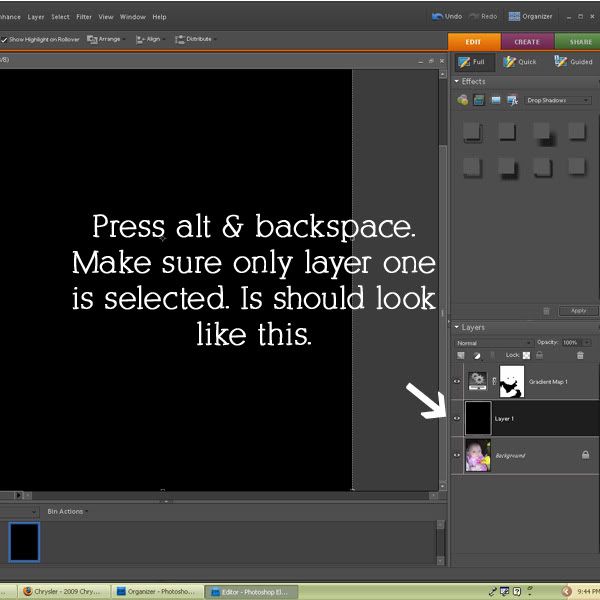
(sorry about the typo above..it's late, so I'm not gonna fix it. I meant to say It should look like this, not Is should look like this...)
Now press M to select the marquee tool. You can do this in the shape of a rectangle , oval etc. I chose to
do it in the shape of a rectangle for this photo.
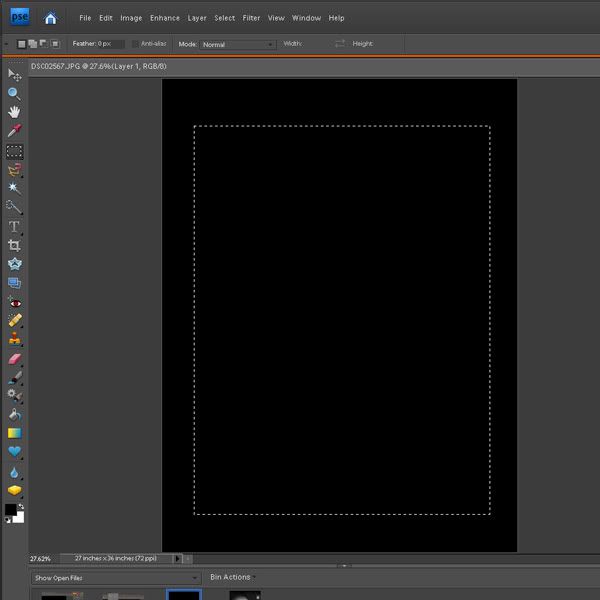
Draw your rectangle.
Now go up to the Select tab and choose the Feather option.
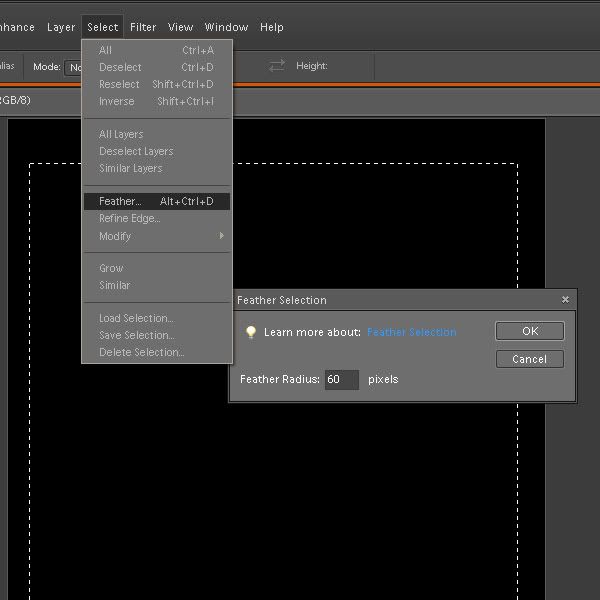
Click O.k. Now press backspace.
Ta Da!
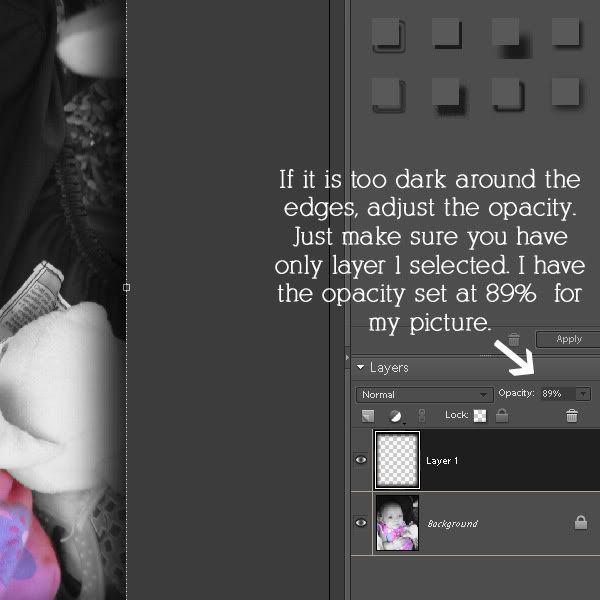
To adjust the opacity, select only layer 1 by clicking on it, then click on the down arrow next to Opacity. Slide the scale until you find the right level for you.

And here is the cute lil princess herself!


No comments:
Post a Comment