
First, open up a photo (ctrl O). Press D to make sure your default layers are selected (black and white, with black being the top square and white being the bottom square in the left corner of your photoshop screen.)
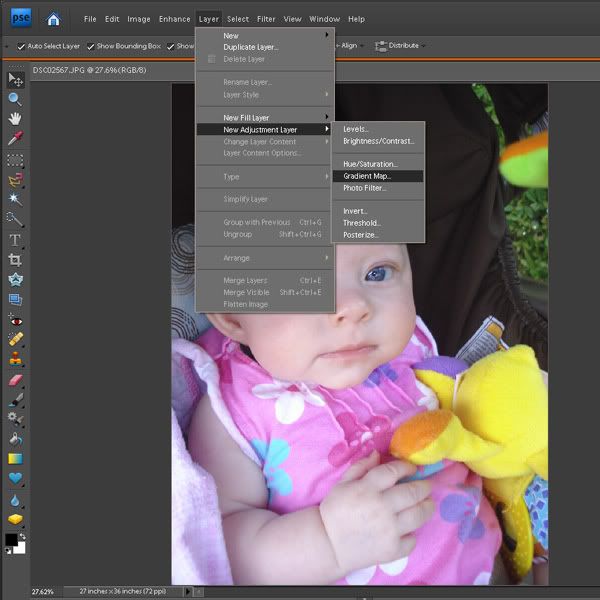
Now, click on the Layer tab, scroll down until you see New Adjustment Layer and then select Gradient Map.
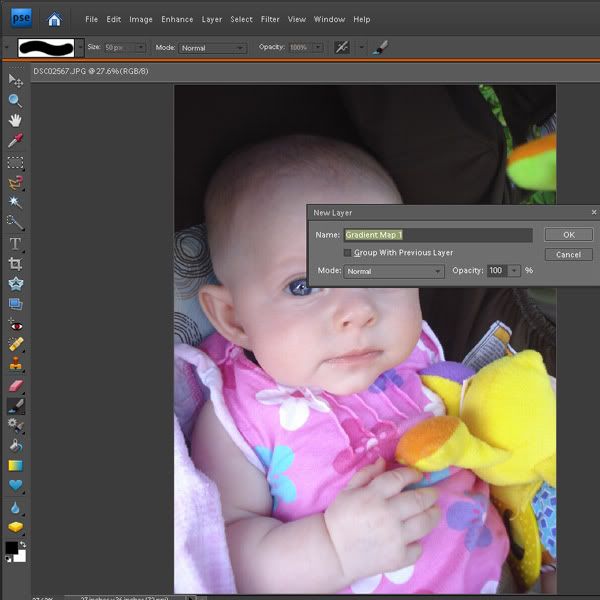
Click O.k.

Click o.k. again.
^notice the black & white square above...
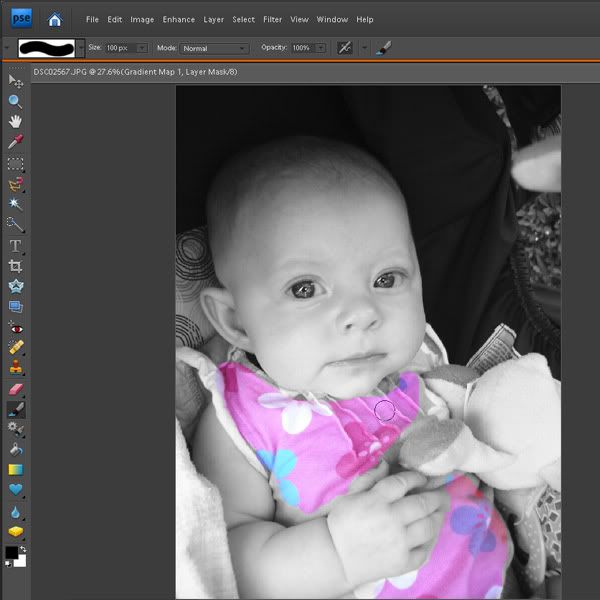
Now, to get working, press B (for brush tool) and run your brush over any area you want to be in color. You can adjust the size of your brush by pressing the bracket keys (next to the letter P on your keyboard). Make sure the black square is always on top...it will only show the color if the black square is selected.
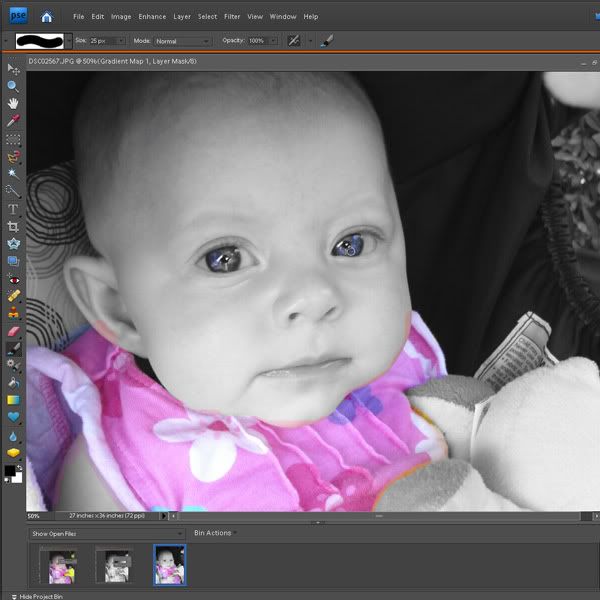
To be precise, press Z for the zoom tool and zoom in closer to get in all the tiny nooks. Press B to go back to the brush tool.
Don't worry about any mistakes you may make...we will fix them next step. For now, just get everything you want in color, in color.
To fix anything in color that you want in black and white, do this:
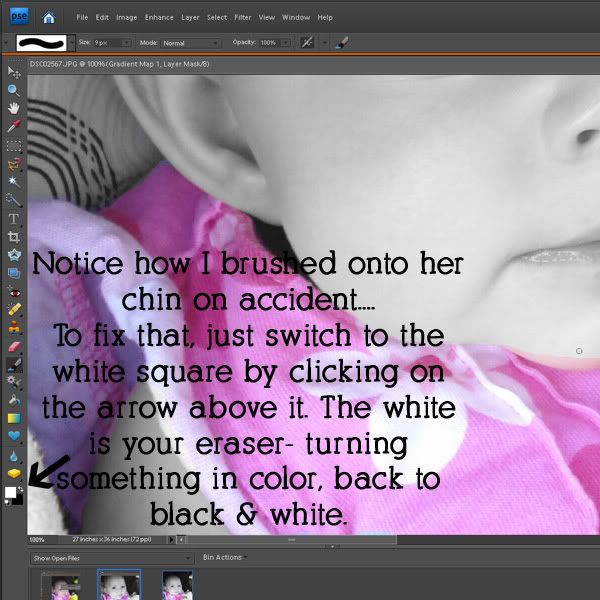
Once you have selected the white square by clicking the arrow, take your brush (B) over any area you want in black and white that you accidentally put in color. Remember, if you want something in color, click the arrow to select black again.
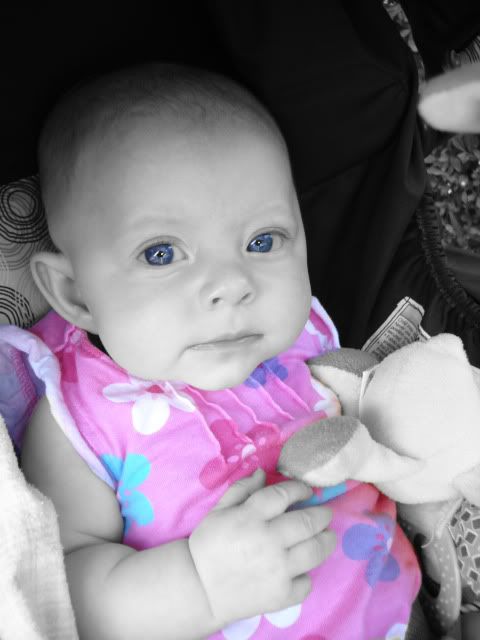
Good job!


Emily you are totally awesome!! You made this so simple! Keep up the good work. I can't wait to see what you have in store for future posts.
ReplyDeleteThanks again for this awesome tutorial!!
Stacy